
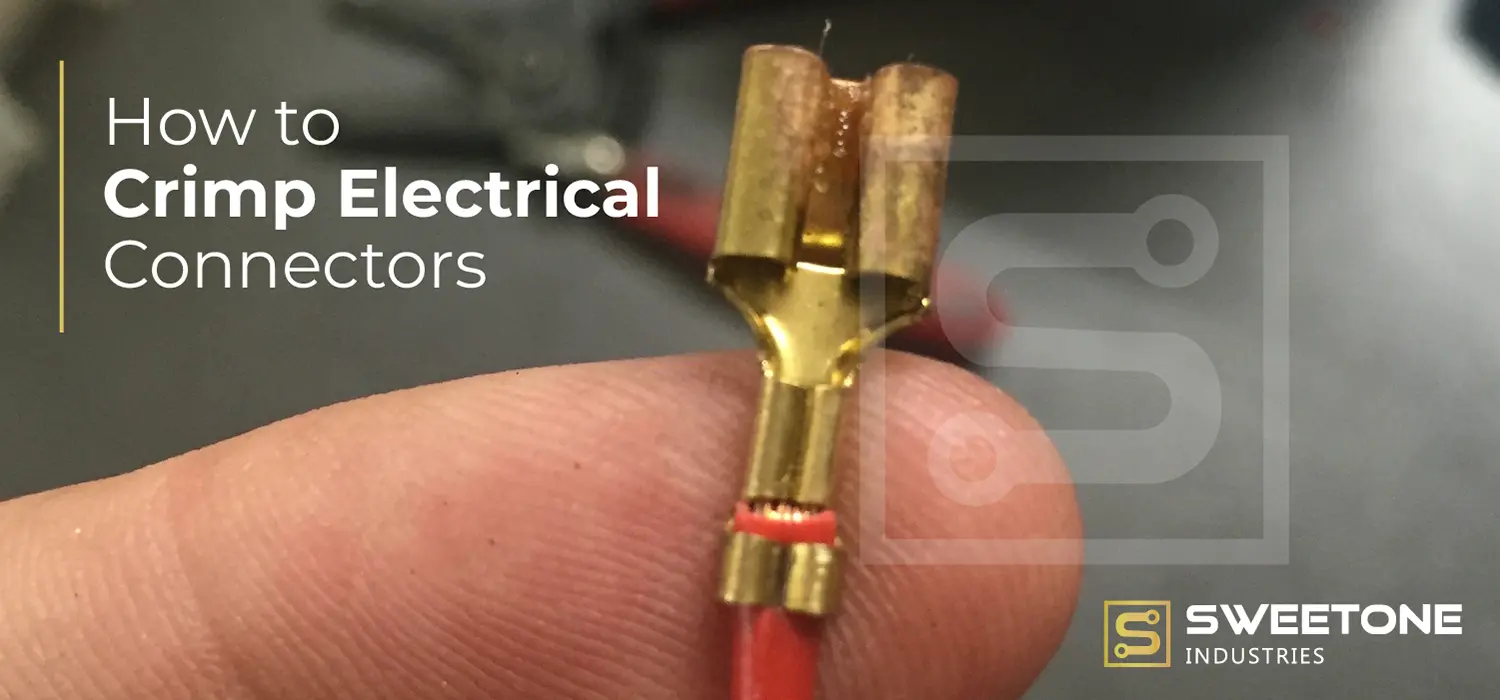
Ever join two wires together and find that the connection has dropped off after a few days? This is often the case when the terminal does not clamp the wire tight enough. A loose connection can interrupt the flow of power, damage equipment or cause wires to heat up. That’s where crimping comes in. It connects wires to metal terminals without solder. Knowing how to crimp electrical connectors is handy when repairing vehicle wiring, installing electrical equipment, or working with electronic components.
How to Crimp Electrical Connectors Without Damaging the Wire
Before picking up a tool, you should understand what is crimping. The process involves squeezing a metal connector around the bare end of a wire. The pressure holds the conductor inside the terminal and creates an electrical contact.
Wire crimping is used in cars, motorcycles, control panels, household appliances, and factory equipment. The method works well when you use the correct terminal and crimping tool.
Most important, the connector needs to fit the wire. A loose fit can cause electrical problems, while excessive pressure can damage copper strands.
What Tools Do You Need for Crimping Wires?
You don’t need many tools for a basic electrical crimp job. Keep these items ready:
- Crimping tool: Choose one that matches the terminal type and wire size.
- Wire stripper: Removes the plastic covering without cutting copper strands.
- Crimp connectors: Ring, spade, blade, and butt splice terminals serve different purposes.
- Wire cutter: Helps remove damaged wire ends.
- Heat shrink tubing: Adds insulation where needed.
- Multimeter: Checks whether electricity can pass through the finished connection.
Always disconnect the power before starting electrical work.
How to Crimp Wire Connectors Step by Step
1. Pick the Right Connector
Start by checking the wire gauge. Most crimp connectors have a recommended wire size printed on their packaging.
If you’re working with a thin wire, don’t use a terminal made for thick cables. The connector won’t hold the conductor properly.
2. Remove the Wire Insulation
Use a wire stripper to expose the copper conductor.
Don’t take off more insulation than is required. The exposed conductor should fit inside the connector barrel without leaving long sections of bare copper outside.
3. Insert the Wire Into the Connector
Push the stripped wire into the terminal barrel.
All the copper strands go in. Check. If some strands bend backward or stick out, remove the wire and insert it again.
4. Place the Connector in the Crimping Tool
If you’re unsure how to use a crimping tool, look at its die markings.
Choose the die that matches your terminal. Place the connector barrel inside and keep the wire straight.
Don’t use ordinary pliers for wire connectors crimp work. They may crush the terminal unevenly.
5. Press the Crimping Tool
Squeeze the handles until the crimp is complete.
A ratchet crimper releases when it finishes its compression cycle. Avoid pressing the same section repeatedly unless the terminal instructions require it.
6. Check Your Work
Hold the terminal and gently pull the wire.
The conductor shouldn’t slide out. Also, check for cracks, loose copper strands, or damaged insulation.
For electrical crimp connections used in important equipment, follow the manufacturer’s pull-test instructions.
Different Types of Electrical Crimp Connectors
Choosing the right terminal makes crimping of wire easier.
- Ring Terminals: These have a circular opening for fastening wires under bolts or screws. They’re common in battery and grounding connections.
- Spade Terminals: Their fork-shaped ends fit beneath terminal screws without completely removing the screw.
- Blade Connectors: These connectors allow wires to connect and disconnect from matching terminals.
- Butt Splice Connectors: They join two wires end-to-end and are useful when repairing damaged wiring.
- Insulated Terminals: These come with a protective sleeve around the connection barrel.
- Non-Insulated Terminals: These have exposed metal barrels and may need separate insulation after installation.
Mistakes People Make While Crimping Electrical Wires
When you’re learning how to use crimp connectors, watch out for these mistakes:
- Using a connector that doesn’t match the wire gauge.
- Cutting copper strands while removing insulation.
- Leaving exposed copper outside the terminal.
- Using the wrong die when crimping wires.
- Stopping before completing the crimp.
- Reusing a damaged connector.
A properly made crimp wire connection should stay secure without damaging the conductor.
Why Does Terminal Quality Matter?
Even when you know how to crimp electrical connectors, a poorly made terminal can cause trouble. Thin metal barrels may split under pressure. Incorrectly sized openings may leave wires loose.
Good terminals have suitable barrel dimensions, material thickness, and plating for their intended application.
Sweetone Industries is an Indian eyelet manufacturer offering terminals & connectors, electronic components & assemblies, sheet metal & precision components. Manufacturers can explore its range of electrical connection parts for assembly and production work.
Frequently Asked Questions
1. How do I crimp a butt splice or ring terminal?
Strip the wire, insert it fully into the terminal, use the matching crimping die, and check the connection.
2. What’s the best way to crimp insulated and non-insulated terminals?
Use a tool and die designed for the terminal. Follow the connector manufacturer’s crimping instructions.
3. Can I use the same crimper for automotive and marine wiring?
Yes, if it matches the terminal specifications. Marine wiring also needs suitable corrosion protection.
4. How do I test a crimped connection?
Inspect the terminal, check its grip using the specified pull test, and measure electrical continuity.
5. Can I repair a damaged crimped terminal?
Replace the damaged terminal. Cut it off, strip undamaged wire, and install a new connector using the correct tool.